1. Locate the Charging Port
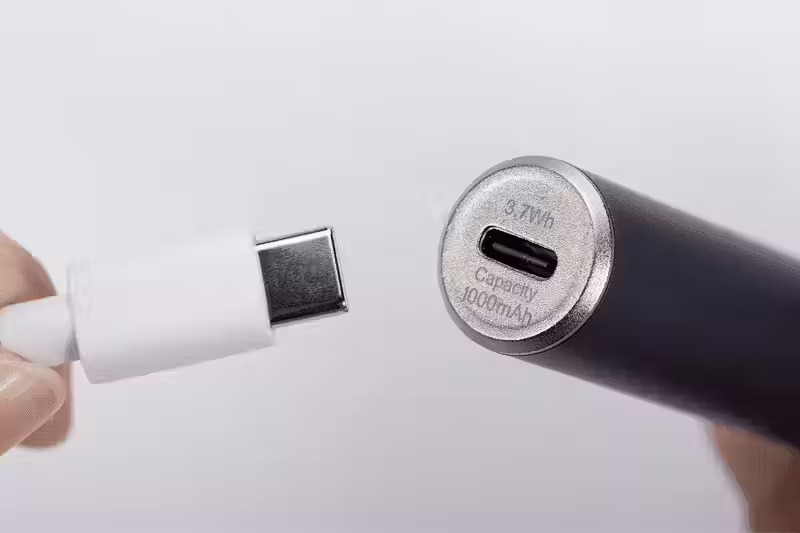
The Iget Bar comes with a USB-C charging port at the bottom of the device. USB-C is a common port type for modern electronics, making it compatible with most charging cables.
2. Prepare the Charging Equipment
To charge your Iget Bar, you will need a USB-C cable and a reliable power source, such as a wall adapter, power bank, or a USB port on your laptop. Most people already have USB-C cables from their smartphones or other devices, making this process hassle-free.
3. Connect the USB-C Cable
Insert the USB-C end of the cable into the charging port at the bottom of the Iget Bar. Ensure the connection is secure to prevent interruptions during the charging process.
4. Plug into a Power Source
Next, plug the other end of the cable into a power source. You can connect it to a wall adapter plugged into an electrical outlet, or use a USB port on your computer or power bank.
5. Monitor the Charging Process
As the Iget Bar charges, an LED indicator will light up, signaling that the device is actively charging. Always place your device in a safe, dry spot during this time.
6. Charging Time
On average, the Iget Bar takes between 30 to 60 minutes to fully charge. The exact charging time may vary depending on the power source used.
7. Unplug When Fully Charged
Once the LED light turns off or the indicator shows the device is fully charged, unplug the device. Avoid overcharging as this can reduce the lifespan of the battery.
8. Enjoy Vaping
Your Iget Bar is now recharged and ready for use. Depending on your usage, you can enjoy up to 3000 puffs between charges.
 To Aussie: 3 DAYS Delivery
 To EU: 7 DAYS Delivery
 To US: 9 DAYS Delivery


